
over the toilet storage idea
By Anna Grace | 8 March 2026
Over the Toilet Storage Ideas That Actually Make Sense
There’s a rectangle of wall floating right above your toilet, and odds are it’s holding nothing but a slightly crooked picture frame and a lot of untapped potential. Most people stare at that spot every single day and never think twice about it. Meanwhile, they’re cramming extra towels into a closet three rooms away and stacking toilet paper on the floor like it’s 2020 all over again.
That blank patch of vertical space is the single most overlooked storage zone in the average home. It sits at eye level, it’s already there, and it costs you nothing but a little planning to put it to work. So let’s fix the fact that yours is currently doing nothing.
Why the Wall Above Your Toilet Is Prime Real Estate
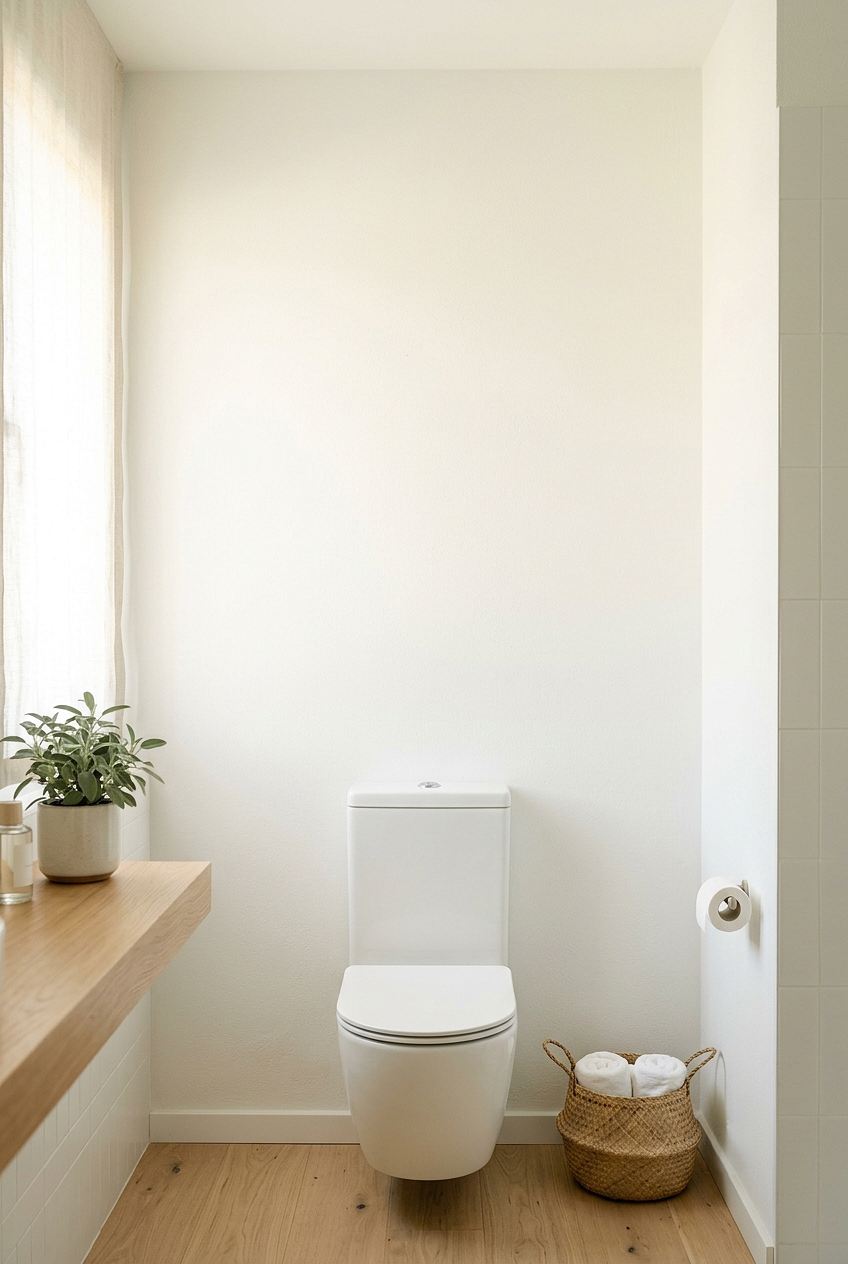
Bathrooms are usually the smallest rooms in the house, which means every inch matters more here than anywhere else. You can’t magically widen the floor, but you can build upward. The area over the toilet gives you roughly two to three feet of usable height that’s just sitting empty, waiting for shelves, a cabinet, or a well-placed basket or two.
Here’s the part people miss: this space is functional storage that doubles as décor. A stack of rolled towels reads as both practical and intentional. A little greenery softens the hard tile-and-porcelain vibe most bathrooms have going on. You get organization and style in one move, which is a rare bargain.
Ever notice how a cluttered bathroom feels smaller than it actually is? When your extras have a designated home up high, the counters clear off and the whole room breathes. Vertical over-the-toilet storage is one of the cheapest ways to make a cramped bathroom feel bigger without knocking down a single wall.
And honestly, it’s a low-risk project. Worst case, you hang a shelf you don’t love and swap it out next month. Best case, you finally stop hunting for a spare roll mid-crisis.
The Main Types of Over the Toilet Storage
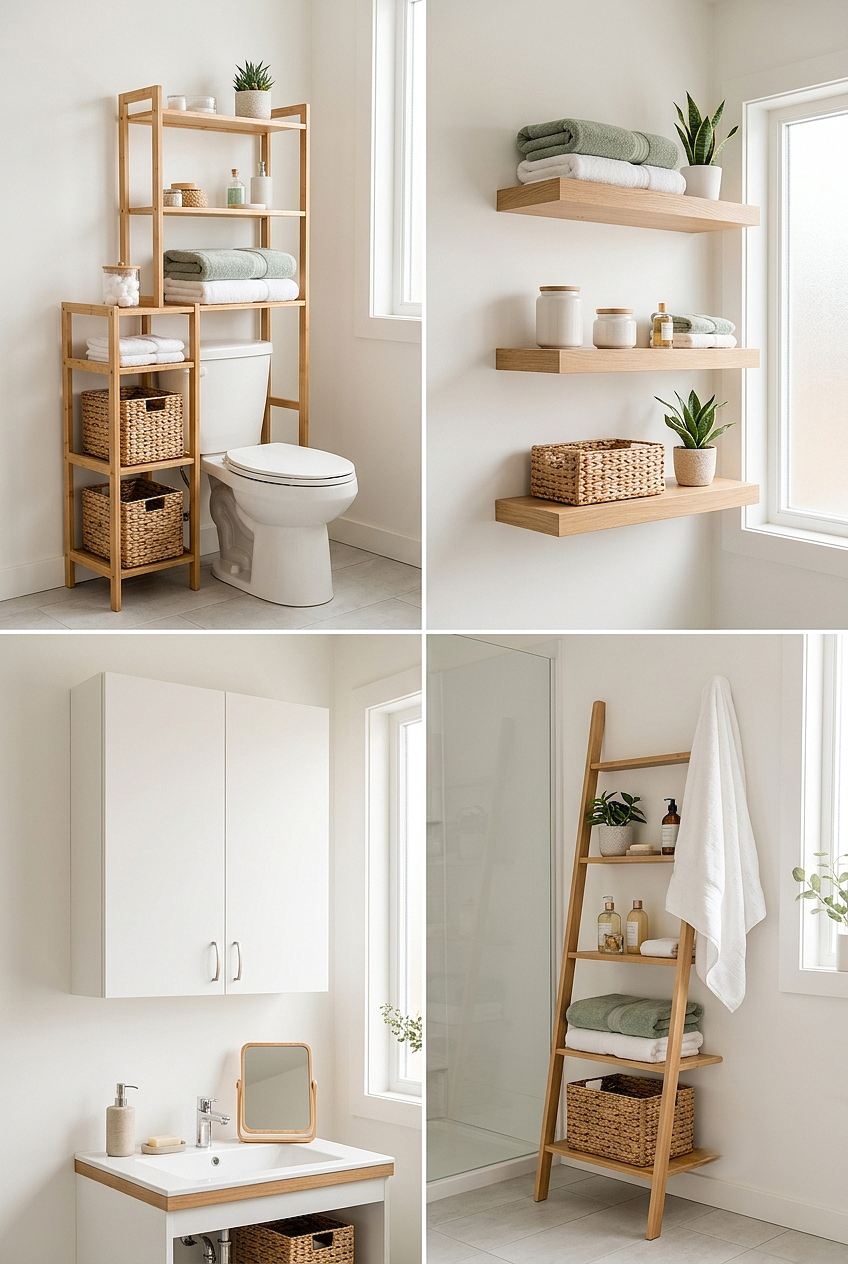
Not every solution fits every bathroom, so it helps to know your options before you start buying things. The big four cover most situations, and each one leans toward a different kind of space and person.
Over-the-Toilet Etagere (the Freestanding Frame)
An étagère is that ladder-like unit with legs that straddle the toilet and stack shelves above the tank. It’s the classic for a reason. You don’t drill into anything, you slide it into place, and boom three or four shelves appear where there were none.
● Best for renters who can’t put holes in the wall
● No installation skills required beyond basic assembly
● Comes in metal, wood, and bamboo to match nearly any style
● Portable, so it moves with you when the lease ends
The trade-off? The legs eat a bit of floor space, and cheap ones can feel wobbly. IMO it’s worth spending a little more for a sturdier frame, because a shaky shelf full of glass jars over a hard tile floor is a bad time waiting to happen.
Floating Shelves (the Minimalist Pick)
If you want clean lines and zero bulk, floating shelves win. You mount them straight to the wall with no visible brackets, and they make the space look custom and airy. Two or three staggered shelves can hold towels, plants, candles, and the odd decorative object without any visual clutter.
These do require you to drill and find studs or use solid anchors, so they’re an owner-friendly, renter-tricky option. But the payoff is a look that feels deliberate rather than bolted-on. A trio of wood shelves against a painted wall can genuinely make a builder-grade bathroom look like someone actually planned it.
Over-the-Toilet Cabinets (the Hide-It-All Hero)
Some things just shouldn’t be on display. Backup cleaning supplies, spare medications, that mountain of travel-size shampoos you keep swearing you’ll use a cabinet with doors keeps all of it out of sight. Wall-mounted cabinets sit above the tank and give you enclosed storage that looks tidy no matter how chaotic the inside gets.
You can go two directions here: a simple single cabinet, or a combo unit with a cabinet plus open shelving underneath. The combo gives you the best of both worlds, hidden storage up top and a display spot below for the pretty stuff. Great choice if you share a bathroom and want the mess sealed away from guests.
Ladder and Leaning Shelves (the Trendy One)
A leaning ladder shelf tilts against the wall and steps outward as it descends, giving you narrow shelves up high and wider ones down low. It’s got a casual, boho energy that photographs well and works great in bathrooms with a relaxed vibe. Fair warning, though the leaning design means it juts into the room more than a flat unit, so it’s better suited to bathrooms with a bit of breathing room.
Ideas Based on Your Actual Bathroom (and Living Situation)
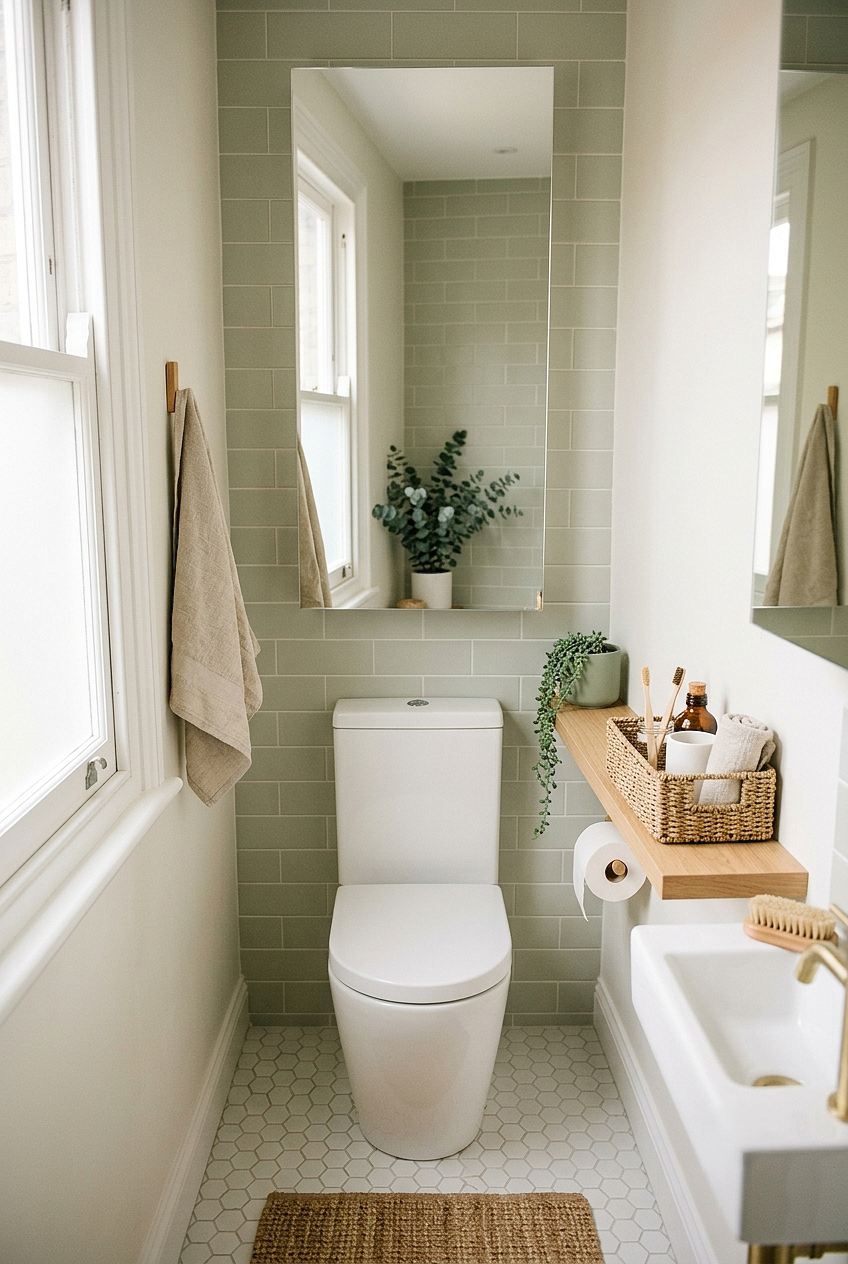
Generic advice is easy to give and useless to follow, so let’s get specific. What works in a roomy primary bath will flop in a tiny half-bath, and what a homeowner can install would get a renter’s deposit held hostage.
For Tiny Bathrooms Where Every Inch Counts
Skip the freestanding units with legs they’ll only make the floor feel more crowded. Go vertical and go wall-mounted instead. A single slim floating shelf or a narrow cabinet keeps the footprint at zero while still adding storage.
Use the height, not the depth. In a small bathroom, a tall-and-thin arrangement of two or three shelves beats one bulky unit every time. Reach for baskets or bins to corral small items so the shelves don’t turn into a jumble of random bottles.
Mirrors help too. A mirrored cabinet above the toilet does double duty storage inside, and the reflective surface bounces light around to trick the eye into seeing more space. Small rooms love anything that reflects.
For Renters Who Can’t Drill
Your best friends here are the étagère and tension-based systems. Both sit on the floor and lean on gravity rather than screws, so your walls stay pristine and your security deposit stays yours. Look for a unit with adjustable shelves so you can fit taller items when you need to.
Command hooks and adhesive-backed shelves have come a long way, and some genuinely hold real weight now. Just check the weight rating before you trust one with your ceramic canisters. I learned that lesson the hard way with a stick-on shelf and a very unhappy soap dispenser, so please, read the label. :/
For Homeowners Who Want a Built-In Look
You’ve got permission to drill, so use it. Recessed shelving set into the wall between studs gives you storage that sits flush and looks architectural. It’s more work, but the result reads as intentional design rather than an afterthought.
Custom or semi-custom cabinetry painted to match your vanity ties the whole room together. If you’re already renovating, framing out a niche above the toilet during the project costs relatively little and adds a feature buyers notice. Vertical storage that looks built-in genuinely nudges up the perceived value of a bathroom.
How to Style It So It Doesn’t Look Like a Storage Closet
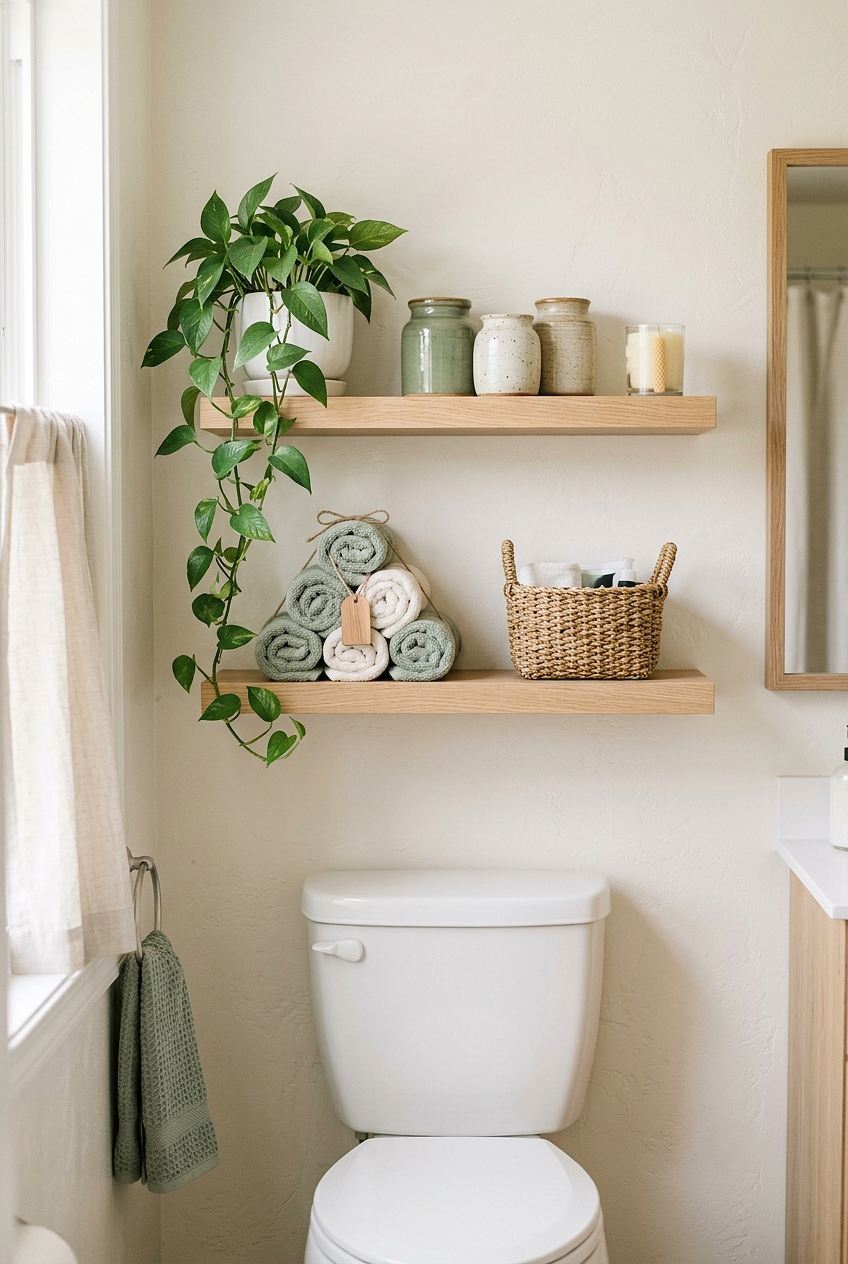
Here’s where a lot of people trip up. They finally hang the shelves, then pile them so high with stuff that the whole thing looks worse than the bare wall did. Storage and styling have to work together, or you’ve just created a cluttered display at eye level.
The trick is the rule of restraint. Fill about two-thirds of your shelf space and leave the rest breathing room empty space isn’t wasted, it’s what makes the full parts look curated instead of crammed. Think of it like a bookshelf you’d actually be proud of, not a junk drawer with a view.
Mix function with a few decorative touches so it feels lived-in rather than sterile:
● Rolled towels stacked in a small pyramid or lined in a basket
● A trailing plant like pothos or a low-light succulent to add life
● Glass or ceramic jars holding cotton rounds, swabs, or bath salts
● One personal object a candle, a small frame, a tiny piece of art
Keep a loose color story going. When your baskets, towels, and jars share two or three tones, the whole arrangement looks cohesive even when it’s holding a random mix of stuff. Clashing colors read as clutter no matter how neatly you arrange them.
And group things in odd numbers. One, three, or five items on a shelf almost always looks better balanced than two or four. It’s a stylist trick that sounds fussy but genuinely works your eye just likes it more. Why? Nobody fully knows, but designers have leaned on it forever, so who am I to argue.
Don’t Forget the Light
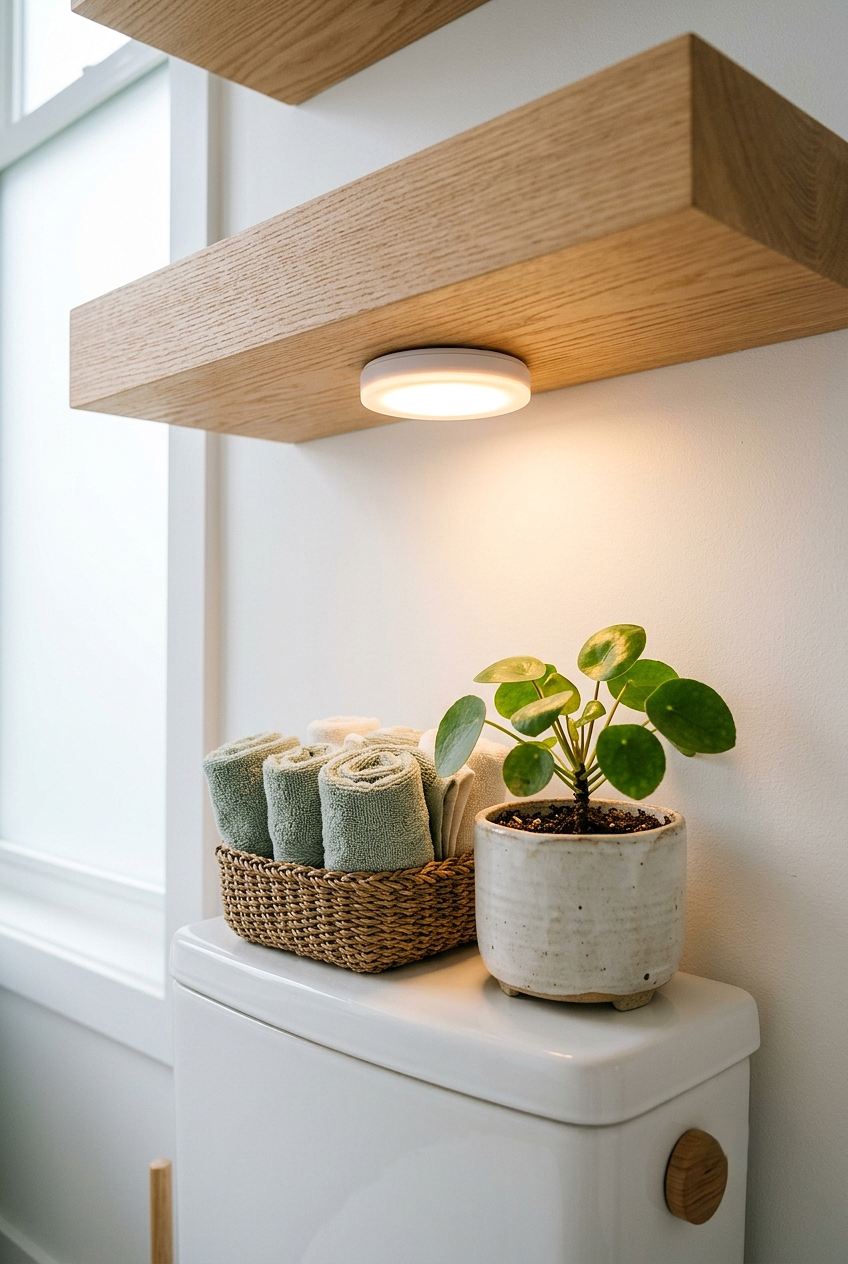
Bathrooms above the toilet tend to sit in shadow, especially if the only fixture hangs over the sink. A small pop of light up there changes everything. A battery-powered puck light stuck under a shelf or a slim rechargeable strip makes your carefully arranged display actually visible instead of lost in the gloom.
Warm light beats cold light for this spot. That harsh blue-white glow works fine for shaving, but it makes towels and wood look flat and clinical. A warm bulb around 2700K makes the whole arrangement feel cozy rather than clinical, and it’s a two-dollar swap that punches way above its weight.
Mistakes People Make (So You Can Skip Them)
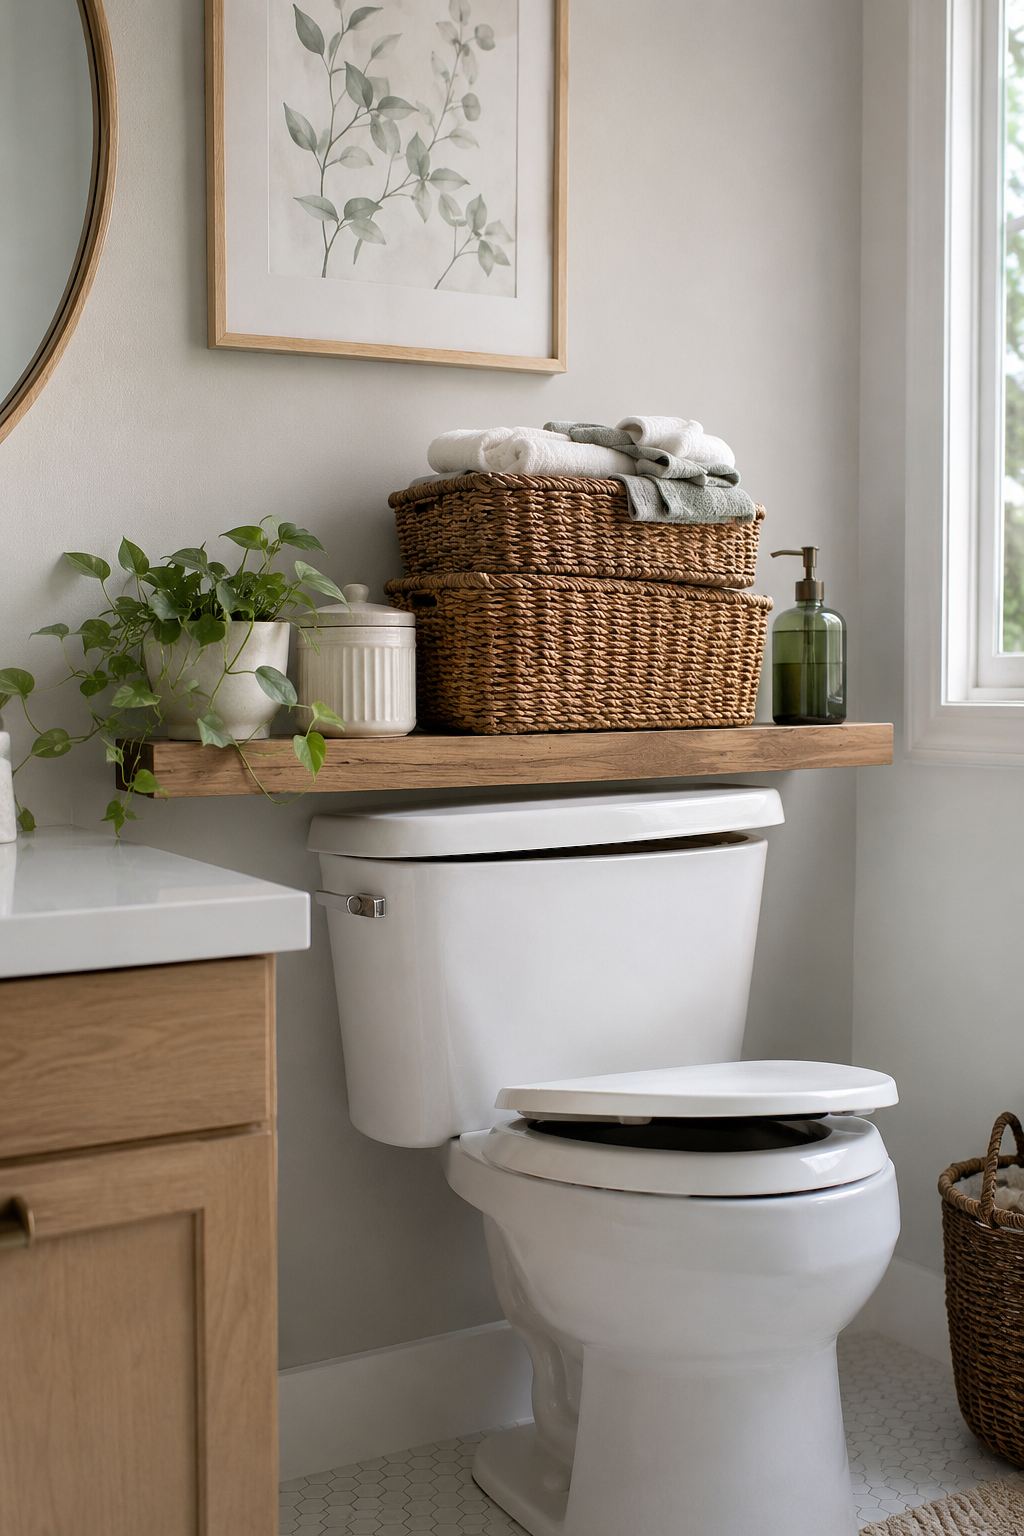
I’ve seen a lot of over-the-toilet setups go sideways, and the failures almost always trace back to the same handful of missteps. Dodge these and you’re most of the way to a bathroom that works.
Mounting shelves too low is the big one. You need enough clearance to lift the toilet tank lid without smacking the bottom shelf, plus room to actually reach the space comfortably. Leave at least eight to ten inches above the tank before your first shelf starts. Nobody wants to unhook a whole unit every time the toilet needs a repair.
Overloading a weak shelf comes in second. That charming reclaimed-wood plank might look sturdy, but check what the brackets are actually rated for before you load it with heavy jars and hardcovers. Water damage and gravity are a brutal combination in a bathroom.
Ignoring humidity trips up plenty of people too. Bathrooms are steamy, so untreated wood warps, cheap metal rusts, and paper products get damp and gross. Pick materials made for moisture sealed wood, coated metal, plastic, or bamboo and store anything paper in a closed container rather than out in the open air.
The last one’s less about safety and more about sanity: don’t store things you never use up there. Prime, reachable space should hold the stuff you actually grab weekly. Shove the once-a-year backup supplies somewhere less convenient, and keep the daily essentials where you can reach them without a stepstool.
Budget and DIY Angles Worth Trying
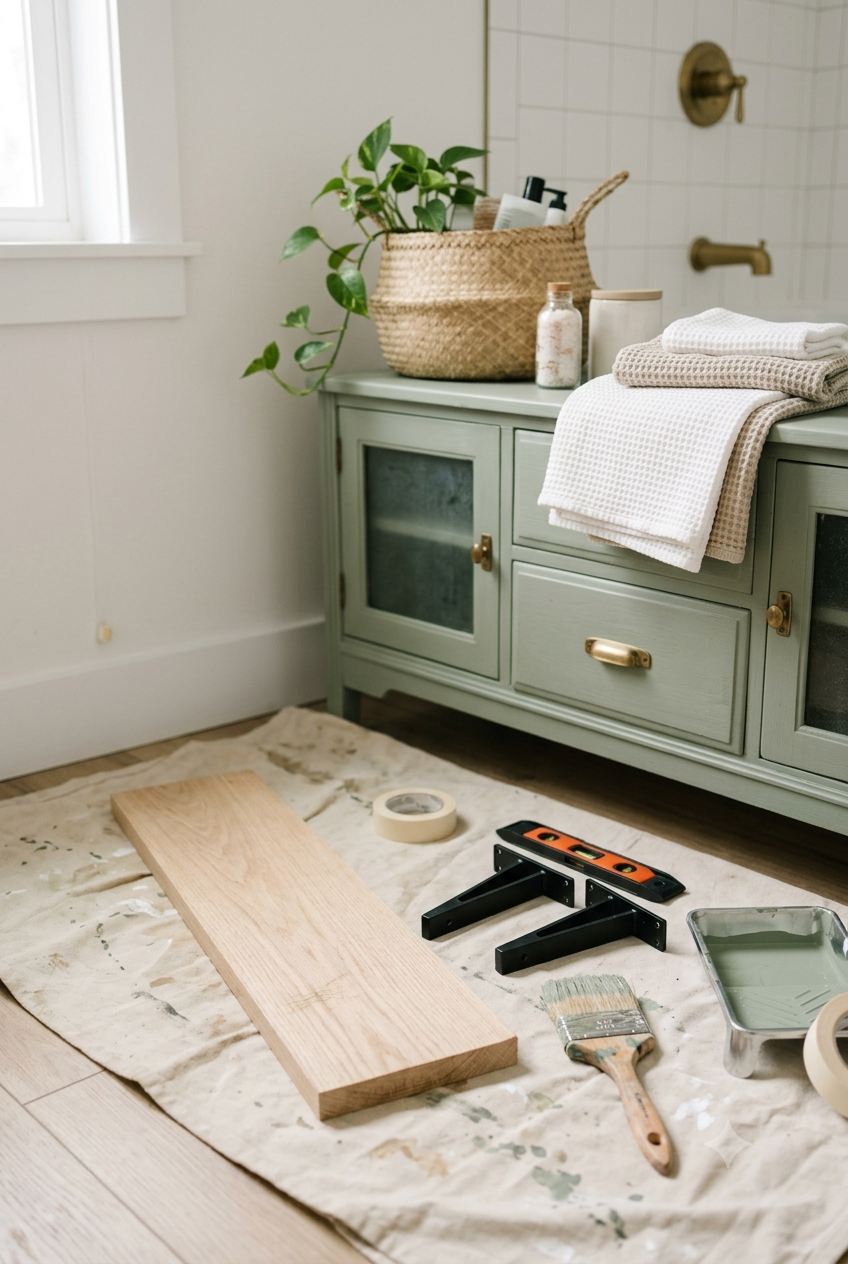
You don’t need a big budget to sort this out. Some of the best over-the-toilet setups I’ve seen came together for the price of a couple coffees and an afternoon of light effort. The wall doesn’t care whether your solution came from a design store or a thrift shop, and neither will anyone using the bathroom.
Thrift stores and secondhand marketplaces are goldmines for small shelving units and cabinets. People offload bathroom furniture constantly, often barely used, because they redecorated on a whim. A quick sand and a coat of moisture-resistant paint turns a tired hand-me-down into something that looks intentional. Have you priced new bathroom cabinets lately? A little patience shopping used saves a shocking amount.
If you’re even slightly handy, a basic floating shelf is one of the easiest builds out there. Grab a plank, a pair of hidden brackets, and a level, and you’ve got a custom shelf in under an hour. Here’s the rough order of operations:
● Measure the width of your space and cut the board to fit
● Seal the wood so bathroom steam doesn’t warp it over time
● Find your studs or set solid wall anchors for weight support
● Mount the brackets, check level twice, then slide the shelf on
No-build options exist too, for the tool-averse among us. Hanging baskets on a slim rail, a fabric wall organizer with pockets, or a couple of adhesive shelves can transform the space with zero drilling and near-zero cost. The cheapest fix is often just using vertical space you already ignore, not buying more furniture.
One thing I’d splurge on, even on a tight budget, is decent baskets or bins. They’re the difference between “organized” and “pile of stuff on a shelf,” and good ones last for years. Everything else can be scrappy your containers are what pull the whole look together.
Quick Comparison to Help You Choose
Still on the fence? Here’s the short version, side by side, so you can match the solution to your situation without re-reading the whole thing.
|
Type |
Best For |
Installs Without Drilling |
Hides Clutter |
|
Étagère |
Renters, easy setup |
Yes |
No |
|
Floating shelves |
Minimalist, custom look |
No |
No |
|
Wall cabinet |
Sharing a bathroom |
No |
Yes |
|
Ladder shelf |
Roomier, boho spaces |
Yes |
No |
Match your pick to the two things that matter most: whether you can put holes in the wall, and whether you need to hide your stuff or want to show it off. Get those two right and the rest is just picking a finish you like.
FAQ’s
How high should a shelf sit above the toilet tank?
Leave at least eight to ten inches above the tank so you can lift the lid easily.
Will over the toilet storage work in a really small bathroom?
Yes! go wall-mounted and vertical instead of freestanding to save floor space and keep things feeling open.
What’s the best over the toilet storage for renters?
A freestanding étagère works best since it needs no drilling and moves with you when you leave.
What should you actually keep on shelves above the toilet?
Store daily-use items like towels, toiletries, and jars up top; tuck rarely-used backups somewhere less convenient.
How do you stop bathroom shelves from warping or rusting?
Choose moisture-friendly materials like sealed wood, coated metal, or bamboo, and store paper goods in closed containers.
CONCLUSION
The space above your toilet was never destined for greatness, but it can absolutely pull its weight. Whether you go with a lean-in étagère, a set of clean floating shelves, or a cabinet that swallows all your bathroom chaos whole, you’re turning dead wall into daily function. That’s a genuinely satisfying win for something so simple.
My honest take? Start small. Grab one shelf or one unit, live with it for a couple weeks, and see how your bathroom feels before you commit to a full overhaul. You’ll figure out fast what you actually need up there versus what just looked good in a photo online.
So here’s the nudge: go stand in your bathroom right now and really look at that empty wall. Then picture it holding your towels, a plant, and the last roll you’ll ever have to hunt for. Ready to claim it?