
corner pantry organization
By Anna Grace | 2 July 2026
How to Master Corner Pantry Organization That Actually Works for Awkward Spaces
Corner pantries have a dirty secret: they’re basically furniture Bermuda Triangles. You put a bag of quinoa in there in March, and by July it’s gone, presumed lost, possibly living its best life behind the water heater. If you’ve got a corner pantry, you already know the struggle that awkward L-shape or deep triangular cavity that swallows groceries whole and never gives them back.
The good news is that corner pantry organization isn’t some unsolvable geometry problem, even though it might feel that way at 6pm when you’re digging for pasta sauce with a flashlight. With the right layout, a few smart storage tools, and a little patience, you can turn that weird corner into the most functional part of your kitchen. Below, I’ll walk through exactly how to do that no contractor required.
Understand the Shape You’re Actually Working With
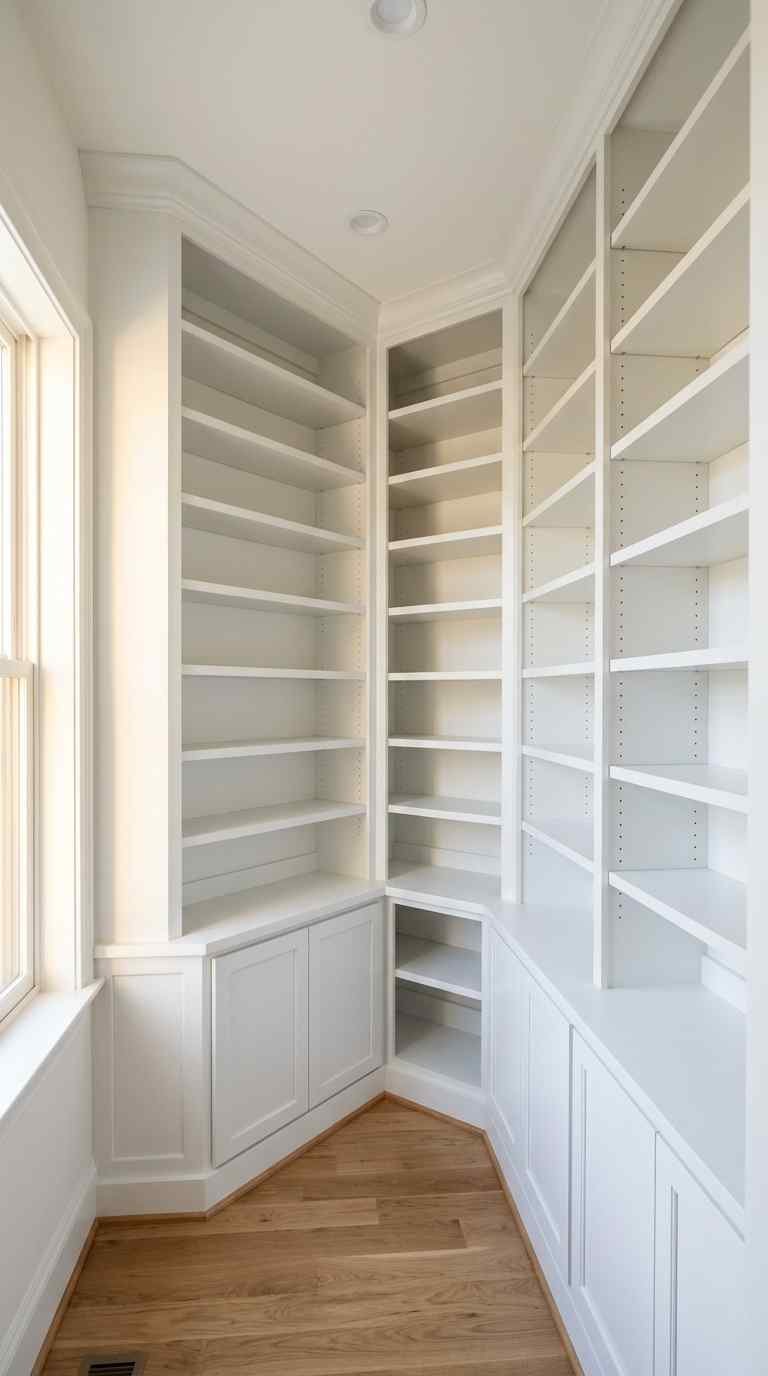
Before buying a single bin, figure out what kind of corner pantry you have. This sounds obvious, but it’s the step most people skip, and it’s why so many organization attempts fail within a month.
Most corner pantries fall into one of three categories:
● Walk-in corner pantry a small room you can physically step into, often triangular or L-shaped
● Reach-in corner cabinet a door-front unit built into the corner of your cabinetry
● Blind corner pantry the trickiest one, where part of the storage space is hidden behind an adjacent cabinet wall
Each shape demands a different strategy. A walk-in gives you floor space to play with, so shelving units and rolling carts work well. A reach-in corner cabinet is shallower and needs vertical thinking lazy Susans, pull-out shelves, that kind of thing. And blind corners? Those need specialty hardware like swing-out shelving or diagonal corner units, because standard shelves just create dead zones you can’t reach without a yoga instructor’s flexibility.
I made this mistake in my first apartment. I bought a standard wire shelving kit for what turned out to be a blind corner pantry, and I ended up with a “storage zone” I could see but not touch. Measure your specific corner shape before you buy anything it saves money and prevents a very avoidable headache.
It also helps to think about depth, not just shape. A corner pantry that’s 24 inches deep behaves completely differently than one that’s 36 inches deep, even if they’re technically the same “type.” The deeper the space, the more likely you are to lose items unless you build in a system for pulling things forward. Grab a tape measure and jot down the depth at the deepest point of the corner that number will guide almost every product decision you make later.
Lighting matters more than people expect too. Corner pantries, especially walk-in and blind corner styles, tend to sit in the darkest part of the kitchen because they’re tucked away from windows. A cheap battery-operated LED strip or motion-sensor puck light can make a bigger difference than any bin or shelf you buy. You can’t organize what you can’t see, and squinting into a dark corner defeats the purpose of organizing it in the first place. If your pantry has a door, consider one with a small window or slats, since airflow and visibility both help you spot problems before they turn into forgotten, expired mystery jars.
Finally, take stock of your door swing and floor clearance. A walk-in corner pantry with a door that swings inward can eat up usable floor space fast, especially if you’re planning to add a rolling cart or freestanding shelving unit. Sometimes switching to a sliding or bifold door frees up several square feet you didn’t know you had.
Zone Your Pantry Like You’d Zone a Closet
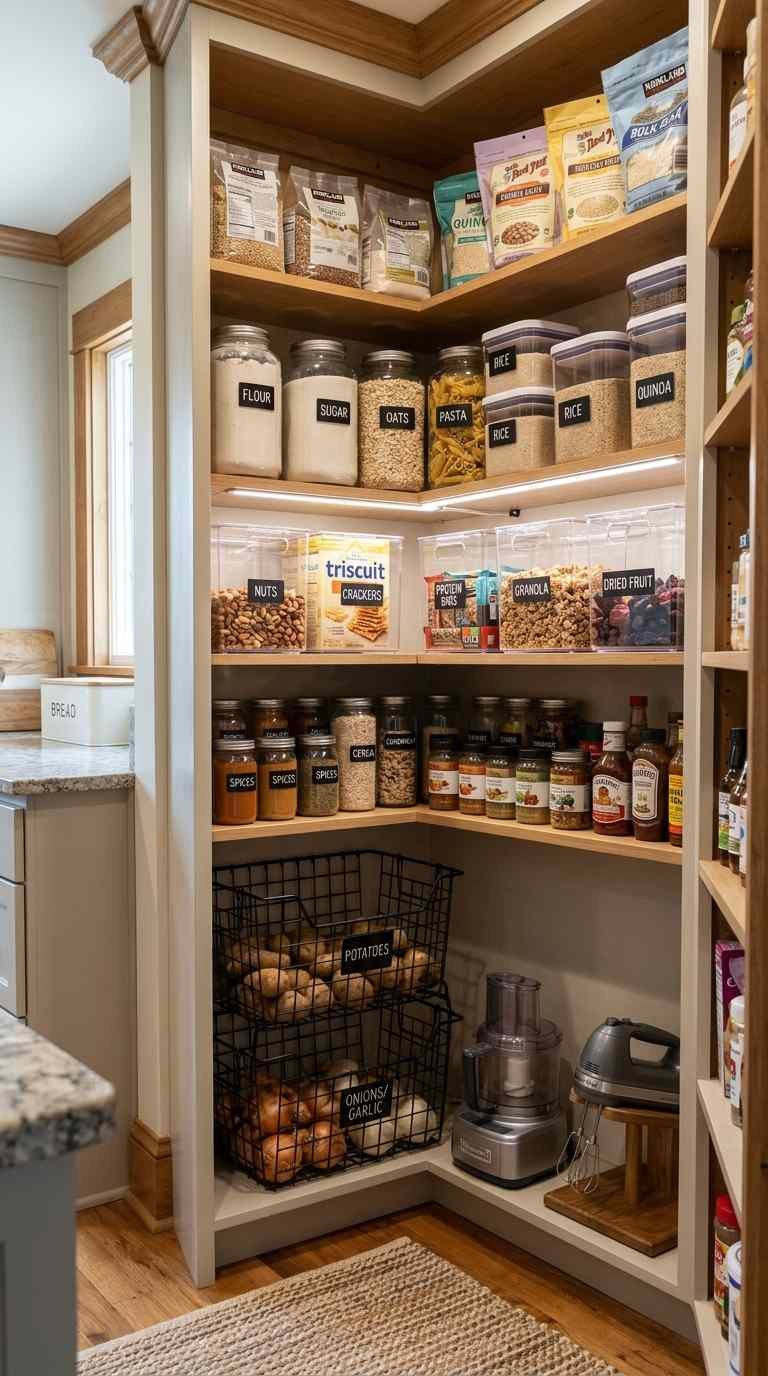
Once you know your shape, the next move is zoning. Think of your corner pantry the way a stylist thinks of a closet: everything gets a designated home based on how often you use it and how heavy or awkward it is.
Here’s a zoning framework that works for almost any corner pantry configuration:
● Eye-level zone everyday items you grab constantly (cereal, snacks, coffee, oils)
● Top shelves bulk items, backstock, and things you use maybe once a month
● Bottom shelves heavy items like canned goods, bottled drinks, and small appliances
● Deep corner space bulk storage bins or lazy Susans for items that don’t need to be seen daily
● Door storage spices, snack packets, and small jars using over-the-door organizers
Why does zoning matter so much? Because a corner pantry’s biggest enemy isn’t clutter it’s depth. Items get pushed back, forgotten, and eventually expire while sitting six inches behind something you use every day. Zoning by frequency keeps your most-used items within arm’s reach and pushes the “maybe someday” items to spots where losing track of them for a while isn’t a big deal.
One quick gut-check question: when’s the last time you actually saw the back wall of your pantry? If you can’t answer that, your zoning needs work.
It’s worth building in a “landing zone” too a small, easily accessible spot near the front of the pantry for groceries that haven’t been put away yet. This sounds minor, but it solves a real problem: half of pantry clutter happens because people are in a rush and just shove new items wherever there’s a gap. A designated landing zone gives you a place to set things down temporarily without disrupting the rest of your system.
Kids’ snacks deserve their own mini-zone if you’ve got a household with little ones raiding the shelves. Keep that zone low and accessible, ideally at a height where they don’t need to climb or ask for help every time they want a granola bar. It keeps them out of the deeper, heavier zones where things could actually get knocked over.
Seasonal rotation is another layer worth adding to your zoning plan. Holiday baking supplies, grilling condiments, or bulk drink stock that only gets used a few times a year shouldn’t compete for prime shelf space year-round. Store these in a bin toward the back or top of the pantry, and swap them forward only when the season actually calls for them. This keeps your everyday zones lean and prevents the “why do I have four bags of stuffing mix in July” situation that plagues way too many pantries.
Use Corner-Specific Storage Tools (Not Generic Ones)
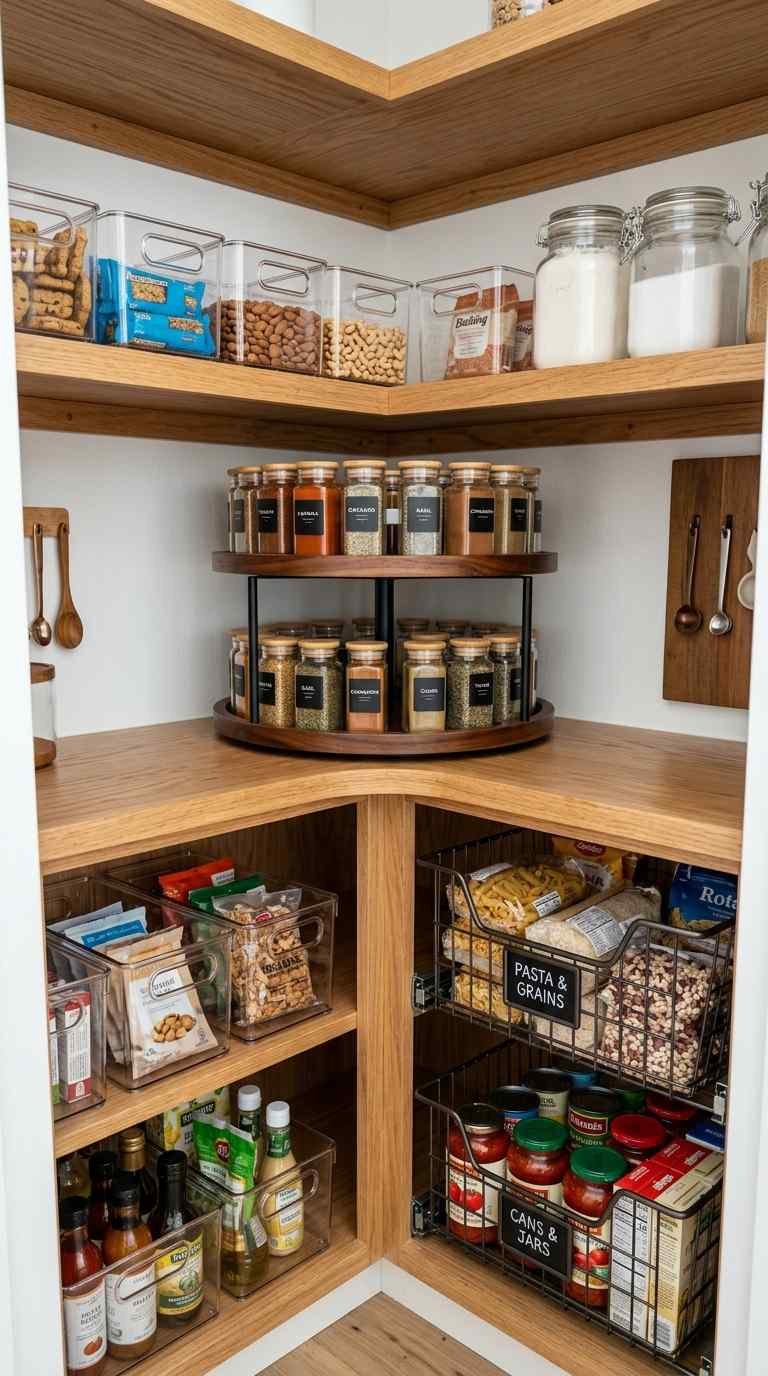
This is where a lot of people go wrong, and honestly, I get it a basic wire shelf looks like it should work anywhere. But generic shelving in a corner pantry usually means wasted space, wobbly stacking, or that infamous black hole in the deepest part of the corner.
Instead, lean on tools built specifically for corner geometry:
● Lazy Susans (single or double-tier) perfect for deep corners where reaching in is awkward; spin instead of dig
● Diagonal corner shelving units designed to fit the exact angle of an L-shaped or triangular pantry
● Pull-out corner drawers bring the entire back of the pantry to you instead of the other way around
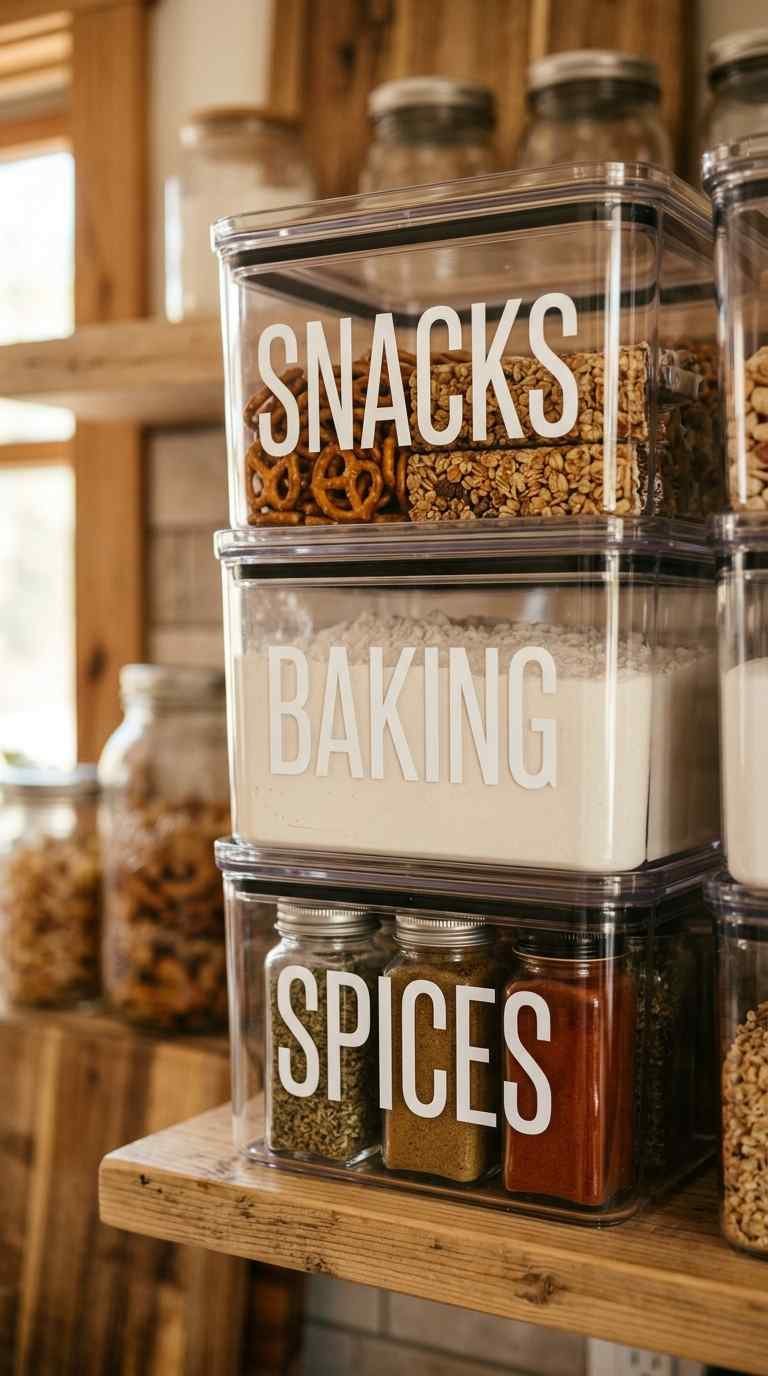
● Stackable bins with labels group similar items (baking, snacks, canned goods) so you’re not opening five containers to find flour
● Tiered shelf risers great for canned goods so nothing hides behind a taller item
● Over-the-door racks free up shelf space for bulkier items by relocating small jars and packets
A lazy Susan genuinely changed my pantry game, and I say that as someone who was skeptical it was worth the money. IMO it’s the single best return on investment for a deep corner you stop crouching and reaching blind, and you actually use everything you buy instead of rebuying items you already own but couldn’t find.
Material matters more than people assume when picking these tools. Wire shelving is breathable and cheap, which makes it a solid choice for canned goods and boxed items, but it’s not great for smaller loose items that can slip through the gaps. Solid shelving or acrylic bins work better for anything small think spice packets, snack bars, or baking mixes since nothing falls through or gets wedged in a gap you can’t reach.
Weight capacity is another detail worth double-checking before you buy. Corner shelving units, especially the tiered or diagonal kind, often have lower weight limits than standard straight shelving because of how the brackets are angled. Loading a corner unit with heavy canned goods when it’s rated for lighter dry goods is a fast way to end up with a shelf collapse and a kitchen floor covered in tomato sauce.
If your budget is tight, you don’t need to buy every tool at once. Start with whichever solves your biggest pain point usually the deep corner zone and build outward from there. A single well-placed lazy Susan can solve 80% of a corner pantry’s usability problem on its own, and you can always add pull-out drawers or door racks later as your budget or needs shift.
Label Everything (Yes, Even the Stuff You “Just Know”)
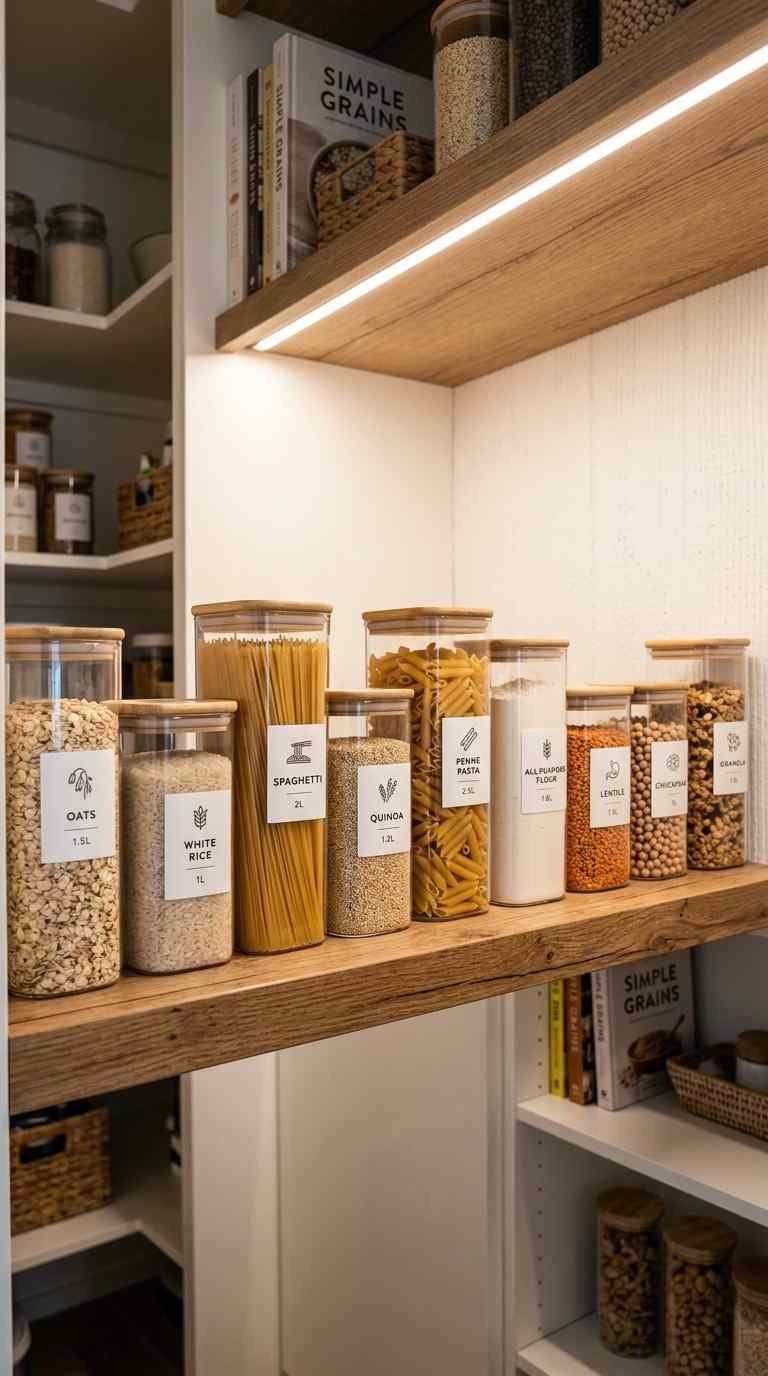
Labeling feels like a small step, but it’s the difference between a pantry that stays organized and one that slides back into chaos within three weeks. Corner pantries are especially prone to disorganization creep because the depth makes it easy to shove things wherever they fit, rather than where they belong.
A simple labeling system works better than a fancy one. You don’t need a label maker with twelve fonts you need consistency. Try this approach:
● Label bins and baskets by category, not by specific product (say “Baking” instead of “Flour, Sugar, Baking Powder”)
● Label shelves themselves if multiple people share the kitchen, so everyone puts things back correctly
● Use clear or frosted containers for dry goods so you can see contents at a glance, labels or not
● Add expiration reminders on rotating stock, especially in the deep corner zone where things get forgotten
Color-coding is a nice add-on if you want to go a step further than plain text labels. Assign a color to each category — green for snacks, blue for baking, yellow for canned goods and use matching bin lids or label borders. It sounds like overkill until you realize how much faster your brain processes color than text, especially when you’re scanning a deep, dimly lit corner pantry in a hurry.
Chalkboard labels or reusable dry-erase tags are worth considering for anything that changes often, like bulk bins you refill with different snacks depending on the week. Permanent labels work great for fixed categories, but they become a hassle the moment your storage needs shift. A reusable label lets you adjust without peeling off sticky residue or buying a whole new label maker cartridge.
Don’t overlook labeling the outside of your pantry door either, if it’s a closed walk-in or reach-in style. A simple printed map or checklist taped to the inside of the door can double as a quick-glance inventory, helping you avoid duplicate grocery purchases. It’s a small step, but it saves both money and pantry space over time, since you stop buying a third jar of cumin because you forgot you already had two.
Maintain It With a Monthly Five-Minute Reset
Organizing a corner pantry once is the easy part. Keeping it that way is where most people quietly give up, usually around month two. A five-minute monthly reset prevents the slow slide back into chaos, and it’s honestly less painful than the deep-clean overhauls people dread.
● During your reset, do a quick pass through these steps:
● Pull anything that’s expired or nearly expired, especially from the deep corner zone
● Check that lazy Susans and pull-out shelves are spinning or sliding freely (crumbs and spills jam these fast)
● Re-group any items that migrated to the wrong zone during the month
● Wipe down shelves if needed, since corner pantries tend to trap dust in the angled back corners
● Restock your “eye-level” zone with anything that’s run low
Is five minutes a month really enough to keep a pantry organized? Surprisingly, yes as long as you’re consistent. The reset isn’t meant to be a deep clean. It’s meant to catch small problems before they become the reason you’re re-organizing the whole pantry from scratch in six months.
It also helps to tie your reset to something you already do regularly, like the day you take out the trash or do your grocery run. Habit-stacking this way means you’re far less likely to forget it, since it’s riding along with a task that’s already on your calendar. Setting a recurring phone reminder works too, but attaching it to an existing routine tends to stick better long-term.
One last tip: keep a small notepad or note on your phone specifically for pantry issues you notice between resets, like a wobbly lazy Susan or a label that’s peeling off. Jotting these down in the moment means you’re not relying on memory when reset day actually arrives, and small fixes get handled before they turn into bigger annoyances.
FAQ’s
What’s the best storage solution for a deep corner pantry?
Lazy Susans or pull-out corner drawers work best, since they bring hidden items forward instead of making you reach blindly.
How do I organize a blind corner pantry?
Use specialty hardware like swing-out or diagonal shelving, since standard shelves leave a large portion of the space unreachable.
How often should I reorganize my corner pantry?
A five-minute monthly reset is usually enough to prevent clutter buildup and catch expired items early.
Should I label pantry shelves or just the bins?
Both help, but labeling shelves is especially useful in shared kitchens where everyone needs to know where items belong.
What’s the biggest mistake people make with corner pantry organization?
Buying generic shelving instead of corner-specific tools, which wastes space and creates unreachable dead zones in the back.
CONCLUSION
A corner pantry doesn’t have to be the awkward, underused space it’s often written off as. Once you understand its actual shape, zone it by frequency of use, add tools designed for corners specifically (not generic shelving), label things clearly, and commit to a quick monthly reset, that odd angle in your kitchen turns into genuinely useful storage. It’s less about buying the perfect product and more about matching your system to the shape you’re actually working with. Give it a real try for one month, and you’ll probably wonder why you put up with the chaos for so long. 🙂